
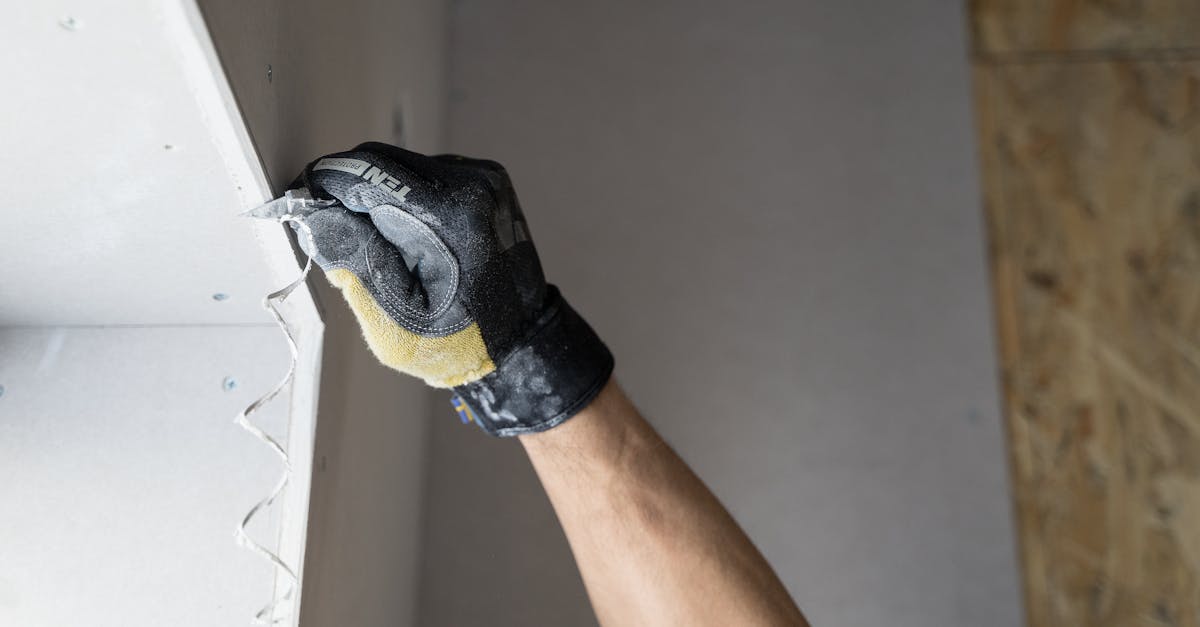
A hole in your drywall doesn’t require a $200 contractor visit. Whether it’s a nail pop you’ve been staring at for months, a doorknob ding from moving furniture, or a fixture removal that left a gaping void, most drywall repairs are a one-afternoon fix. The job costs $15–40 in materials and requires no special skills — just the right products for the right hole size.
This guide walks you through patching small, medium, and large holes with specific tools, honest timelines, and the common mistakes that make patches crack or ghost through paint later. I’ve patched dozens of holes in my 1970s house and every rental I’ve lived in, and the process is straightforward once you match your approach to the damage.
What you’ll need
The tools and materials depend on hole size. Most readers fall into one of three categories:
For small holes (pinhole to 1 inch):
- Spackle knife (2–4 inches)
- Pre-mixed spackle (DAP Fast ‘N Final or Elmer’s SpackleFast)
- 120-grit sandpaper
- Paint brush
- Primer and matching paint
For medium holes (1–6 inches):
- Putty knife (3–6 inches)
- Lightweight joint compound
- 120–220 grit sandpaper
- Utility knife
- Paint brush
- Primer and matching paint
- Optional: Self-adhesive mesh patch (3M Patch Plus Primer)
For large holes (6+ inches):
- Drywall saw or utility knife
- Putty knife (6 inches)
- Sanding block or pole sander
- Drywall patch kit (DAP Fast ‘N Final mesh patch or 3M Patch Plus Primer)
- Joint compound
- Primer and paint roller
Prerequisites:
- Matching wall paint or willingness to repaint the entire wall section for color consistency
- Clean, dry wall surface
Before you start
Wear a dust mask when sanding joint compound — drywall dust irritates lungs, especially with multiple coats. Eye protection is recommended if working overhead.
Check the hole for underlying issues. If you see water stains, mold, or structural cracking around the damage, stop and investigate the root cause. Drywall patching fixes cosmetic damage, not moisture problems or settling foundations.
Paint color matching: Wall paint fades over time. A patch with fresh paint from paint purchased two years ago won’t match perfectly. Buy a sample quart and test it in an inconspicuous spot, or get a color match at the paint counter with a chip from your wall.
Step 1: Clean and prep the hole
Brush or vacuum debris from the hole edges. For small holes (under 1 inch), this is all you need.
For medium to large holes, use a utility knife to undercut the edges slightly — angle the blade so the hole is wider on the wall surface than behind it. This gives the compound something to grip. Remove any loose paper or crumbling gypsum.
For holes larger than 6 inches, square off the damage with a utility knife or drywall saw. A square or rectangular hole is much easier to patch than an irregular shape.
Step 2: Apply first coat (method varies by hole size)

Small holes (pinhole to 1 inch): Load your spackle knife with pre-mixed spackle and press firmly into the hole, overfilling slightly. Scrape flush with the wall surface in one smooth motion. The spackle will shrink as it dries — overfilling compensates for this. Let dry 30 minutes to 1 hour per the product label.
Medium holes (1–6 inches): If using a self-adhesive mesh patch, center it over the hole and press firmly. The mesh provides backing for the joint compound.
Apply lightweight joint compound with a putty knife, spreading it in thin layers across the patch and feathering the edges 6–8 inches beyond the hole. Feathering means tapering the compound so thin at the edges that you can’t feel a ridge. This is critical — skipping it leaves a visible hump.
Let the first coat dry 1–2 hours. Joint compound dries slower in humid conditions; run a fan if your house is damp.
Large holes (6+ inches): For kit patches, follow the manufacturer’s instructions — most involve adhering a backing plate, then applying compound over the patch material.
For manual patches, cut a drywall scrap to fit the squared-off hole. Secure it with joint compound or drywall anchors (depending on hole location and whether you hit studs). Apply joint compound over the seams and feather wide.
Step 3: Sand and apply additional coats
Once the first coat is fully dry (not just surface-dry — poke it gently; if it’s cool to the touch, it’s still drying), sand lightly with 120-grit sandpaper. Wipe dust with a damp cloth.
Apply a second coat of joint compound, feathering even wider than the first coat — aim for 10–12 inches past the hole on medium and large patches. This broader feather hides the repair under paint.
Let dry another 1–2 hours, then sand again with 150–220 grit sandpaper. You’re aiming for smooth-to-the-touch with no ridges when you run your hand across the patch.
For large patches or deep holes, you may need a third coat. That’s normal — joint compound shrinks as it dries, and multiple thin coats work better than one thick coat.
Step 4: Prime the patched area
This step is non-negotiable. Bare joint compound absorbs paint differently than painted drywall. If you skip primer, the patch will show as a dull spot or “ghost” through your topcoat, even with multiple coats of paint.
Use a standard white primer or a primer-and-paint combo like Zinsser. Brush or roll it onto the patched area, extending slightly past the feathered edges. Let dry per product label (usually 30 minutes to 1 hour).
Step 5: Paint to match
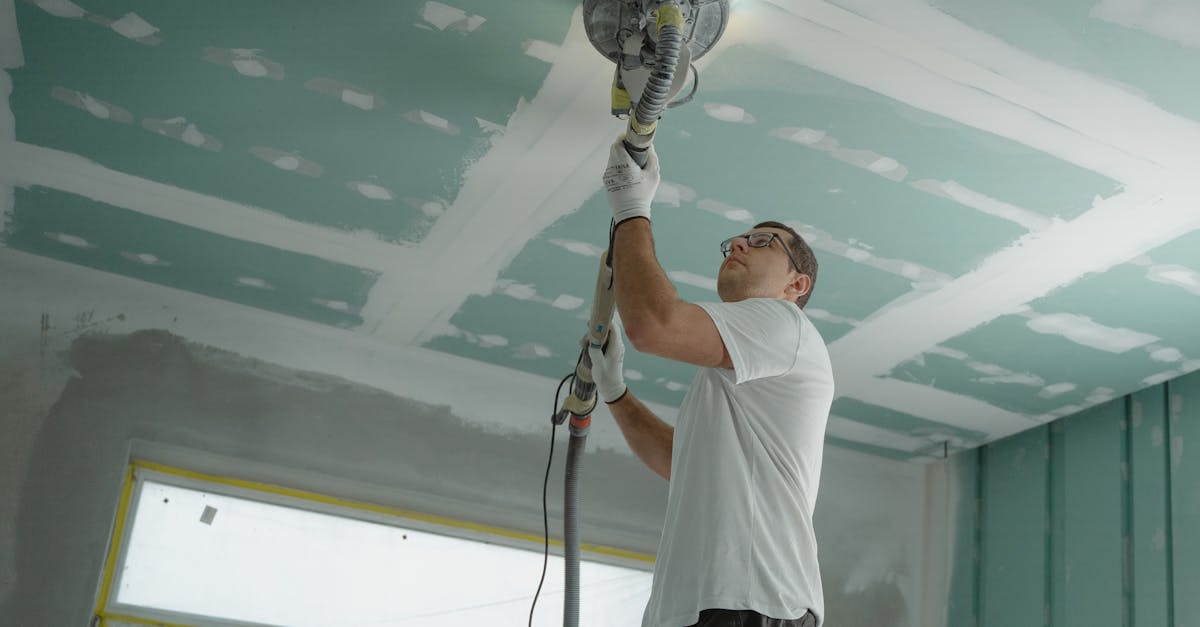
Apply your matching topcoat in two thin coats if needed. Let the first coat dry fully before applying the second.
If the color doesn’t match perfectly (common with faded walls), you may need to repaint the entire wall from corner to corner to avoid a patched-in look. This is especially true in bright or direct sunlight.
Verify it worked
Run your hand across the patch. You shouldn’t feel ridges or texture differences. Look at the wall from different angles and lighting — a good patch is invisible under normal room light. If you see ghosting (dull spots), you skipped or under-applied primer; add another primer coat and repaint.
Troubleshooting
Patch cracks after painting: Joint compound was applied too thick in a single coat, or it wasn’t fully dry before you painted. Sand out the crack, apply a thin coat of compound, let it dry completely (24 hours if needed), prime, and repaint.
Patch shows as a hump or ridge: You didn’t feather wide enough. Sand down the edges with 150–220 grit sandpaper, reapply compound in a thinner layer with wider feathering, and re-sand smooth.
Paint looks dull or ghosted over patch: You skipped primer or didn’t let it dry fully. Apply a coat of primer over the ghosted area, let dry, then repaint.
Spackle is crumbling or won’t adhere: The wall surface is dusty or oily. Wipe it clean with a damp cloth, let dry, and reapply compound.
Self-adhesive patch is peeling: Wall surface wasn’t clean or dry. Remove the patch, clean with rubbing alcohol, let dry completely, and apply a new patch.
When to call a professional
Most drywall holes are DIY-friendly, but escalate to a pro if:
- The hole reveals water damage, staining, or mold — you need to diagnose and fix the moisture source before patching
- The wall shows widespread cracking, bowing, or settling damage — structural assessment needed
- The hole is larger than 12 inches or spans multiple studs — drywall panel replacement is carpenter work
Typical contractor cost for small patches runs $150–300; large repairs can hit $300–600. If you’re patching a single hole under 6 inches, DIY saves you $130+.
FAQ
Can you patch drywall without sanding?
Some pre-mixed compounds (like DAP Fast ‘N Final) claim low-sand or no-sand finishes, but you’ll get a smoother result with at least light sanding between coats. If you’re painting over a textured wall, you can skip final sanding as long as the patch isn’t proud of the surface.
How long does drywall patch take to dry?
It depends on the product. Lightweight spackle can dry in 30 minutes; joint compound takes 1–2 hours per coat; some all-purpose compounds need 24 hours. Check your product label and test by touch — if it’s cool or soft, it’s still wet inside.
Why does my drywall patch crack after painting?
Three common causes: the compound was applied too thick, it wasn’t fully dry when you painted, or you skipped sanding between coats. Joint compound shrinks as it dries, and thick layers crack. Use multiple thin coats and let each one dry completely.
Can you patch drywall with caulk?
No — caulk is for sealing gaps around trim or tubs, not for filling holes. Caulk shrinks more than joint compound, doesn’t sand well, and won’t match drywall texture. Use spackle or joint compound for drywall repairs.
What’s the best drywall patch kit?
For medium holes (1–6 inches), 3M Patch Plus Primer and DAP Fast ‘N Final mesh patches are widely recommended. Both include self-adhesive backing and work with standard joint compound. For large holes (6+ inches), a full kit with backing plate saves time.
Most drywall holes take more patience than skill. The keys are matching your product to the hole size, feathering wide, letting each coat dry fully, and priming before paint. Do those things and your patch will be invisible.
For faster spackle-only fixes on nail holes and small picture hangers, see how to fill nail holes in drywall. If you’re renting and worried about deposit deductions, drywall repair cost breakdown compares when DIY makes financial sense.