

A slow kitchen faucet drip wastes thousands of gallons a year and adds up quickly on your water bill—but the real cost is the $150-$300 plumber visit that most homeowners think they need. In nearly every case, the fix is $5-$30 in parts and 15-45 minutes of work, once you know which type of faucet you have.
The most common mistake people make is buying parts before diagnosing the faucet type. A two-handle faucet with compression washers needs different parts than a single-handle cartridge faucet, and a wasted trip to the hardware store turns a 20-minute job into an hour-long frustration. This guide starts with a fast diagnosis, then walks you through type-specific repairs.
Identify your faucet type first
Before you buy anything, figure out which kind of faucet you have. This is the single most important step.
Two-handle faucet (separate hot and cold knobs):
- Likely uses compression washers—especially in kitchens built before 2000
- The drip comes from the spout when both handles are off, or you see slow water pooling under the sink
- Fix: washer and seat replacement
Single-handle faucet (one lever controls both temperature and flow):
- Uses a sealed cartridge inside the faucet body
- The drip continues at the same rate even after you’ve turned the handle off firmly
- Fix: cartridge replacement
I’ve owned a 1970s house with both types, and I’ve learned that trying to guess which one you have based on the year the house was built is unreliable. Look at the handles. Count them. That tells you 90% of what you need to know.
Before you start
Turn off the water supply. Locate the shut-off valves under your sink—there are two, one for hot and one for cold. Turn both clockwise until snug. Don’t force them. Old shut-off valves that haven’t been turned in years can crack if you muscle them, and a cracked valve means a flood and an emergency plumber call. If they won’t budge, apply gentle heat with a hair dryer for 30 seconds, or skip them entirely and shut off your home’s main water supply instead.
Once the valves are closed, turn on the faucet to release any pressure in the line. Water will trickle out for a few seconds, then stop.
Gather your tools. You’ll need different parts depending on your faucet type, but the tools are mostly the same:
- Adjustable wrench or basin wrench (a basin wrench saves your knuckles in tight spaces)
- Flat and Phillips screwdrivers (small size)
- Bucket or towel (water still trapped in the line will drip)
- Flashlight (under-sink work is always darker than you expect)
Two-handle faucet: faucet washer replacement
This is the most common repair in older kitchens. The rubber washer at the base of the faucet stem wears out, stops sealing, and allows water to drip past.
What you’ll need
Parts:
- Faucet washer assortment kit (~$8)—get one specifically labeled for faucets, not generic washers. The Keeney 50/50 Washer Assortment Kit works well for most residential kitchen faucets.
- Valve seat (optional, ~$5-8)—only needed if the seat inside the faucet body is corroded or pitted
- Plumber’s grease (optional but smart)
Tools:
- Basin wrench or adjustable wrench
- Seat wrench (optional, $5-10, makes seat replacement faster)
Step 1: Remove the handle
Look for a decorative cap on top of the handle—usually a small colored disk marked H or C. Pry it off gently with a flat screwdriver. Underneath is a screw. Remove it, and the handle pulls straight off.
Step 2: Remove the packing nut and stem
The packing nut is the hexagonal nut where the stem enters the faucet body. Use your wrench to turn it counterclockwise. Once it’s loose, lift the stem out by hand. The old washer is attached to the bottom of the stem.
Step 3: Replace the washer
At the base of the stem is a small rubber or brass washer held by a screw or pin. Unscrew it, pop the old washer out, and replace it with a new one from your kit. Match the diameter—most kitchen faucets use 3/4” or 1” washers. Don’t over-tighten the screw when you reinstall it. Hand-tight is enough.
Step 4: Inspect the seat
Look inside the faucet body with your flashlight. At the bottom, you’ll see a small cylindrical valve seat. If it’s smooth, you’re good. If it’s cracked, pitted, or corroded, it will ruin your new washer in a matter of days. Replace it now. Use a seat wrench—insert it into the seat, turn counterclockwise to unscrew the old one, and screw in a new seat from your kit.
I skipped this step once on a faucet in my rental, and the drip came back within a week. The corroded seat had chewed through the new washer. Don’t make the same mistake.
Step 5: Reassemble and test
Reinsert the stem with the new washer, tighten the packing nut (hand-tight, then a quarter-turn with the wrench), and reinstall the handle. Turn on the water at the shut-off valves slowly. Turn the handle through its full range—water should stop completely when the handle is fully off.
Leave it off for 5 minutes and check. Any drip means the washer isn’t seated correctly, or you’ve used the wrong size. Go back to step 3.
Single-handle faucet: cartridge faucet repair
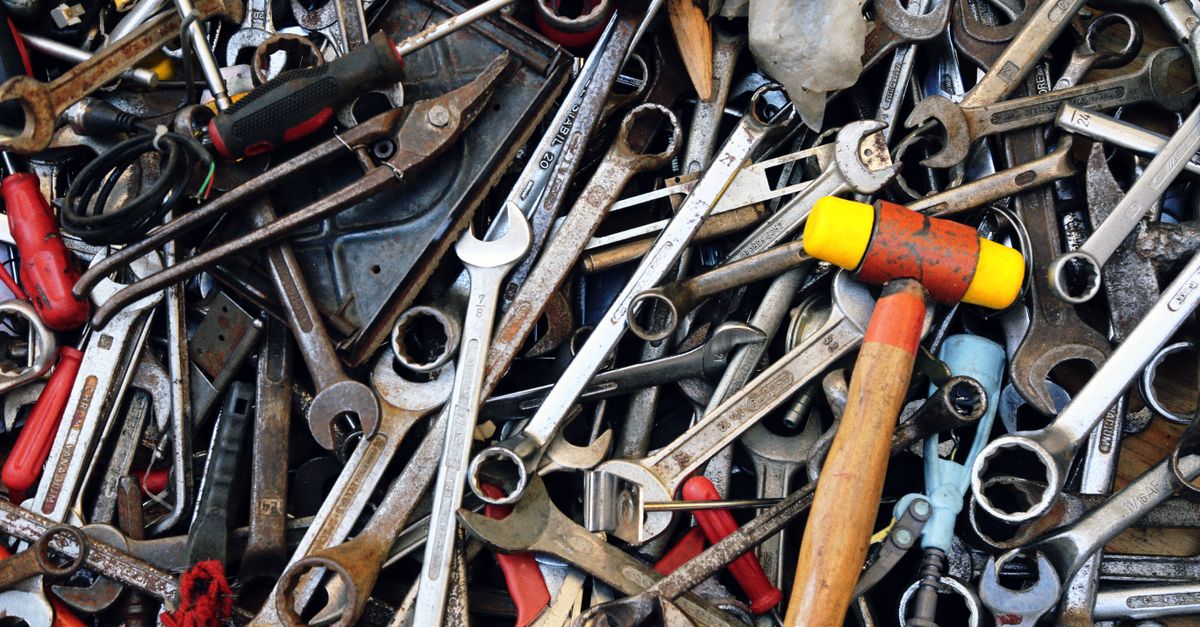
Single-handle faucets use a sealed cartridge to control water flow and temperature. When the cartridge fails, the faucet drips or the handle becomes stiff.
What you’ll need
Parts:
- Replacement cartridge specific to your faucet brand (~$20-40)—this is critical. You must know your faucet’s brand and model number. Check for a label under the sink or stamped on the faucet body. Moen and Delta both provide cartridge lookup tools on their websites. A generic cartridge will not seal correctly.
Tools:
- Hex wrench set (usually 3/32” or 1/8”)
- Flat and Phillips screwdrivers
- Cartridge puller tool (often included in replacement kits)
Step 1: Remove the handle
Pry off the decorative cap on the handle with a flat screwdriver. Underneath is a hex screw. Remove it with your hex wrench. The handle slides or lifts straight off.
Step 2: Remove the collar and escutcheon
If your faucet has a collar nut (a ring that screws onto the faucet body), unscrew it by hand. Then remove the decorative escutcheon—the flat ring around the base. Note the order as you remove these pieces.
Step 3: Extract the old cartridge
Use the cartridge puller tool. Insert it onto the cartridge stem, turn counterclockwise, and pull. If you don’t have a puller, needle-nose pliers can grip the stem—wrap it with a cloth first to avoid scratching.
Step 4: Install the new cartridge
Check the orientation. Most cartridges have a flat edge or alignment key on the shaft that matches a slot in the faucet body. Don’t force it the wrong way. Push it straight in until it seats, then tighten the set screw hand-tight, plus another quarter-turn.
I once installed a Delta cartridge backward in my own kitchen. The handle turned, but it felt stiff and the hot/cold was reversed. I had to take it apart again and flip it. The flat edge is there for a reason—pay attention to it.
Step 5: Reassemble and test
Reinstall the escutcheon, collar, and handle. Open the shut-off valves slowly. Turn the handle through hot, off, and cold. The transitions should be smooth, and drips from the spout should stop immediately when the handle is fully off. If the drip persists, the cartridge may be backward or incompatible with your faucet model.
Verify it worked
After reassembly, leave the faucet off for 5 full minutes. Check the spout and the area under the sink for any drips. A slow drip may take a minute or two to show up if the washer or cartridge isn’t fully seated yet. If you see water, disassemble and check your work.
Troubleshooting

Problem: Drip continues after washer replacement
The valve seat is likely corroded or pitted. Go back and replace the seat (step 4 in the two-handle section). A damaged seat will destroy a new washer in days.
Problem: Handle is stiff or won’t turn smoothly after cartridge replacement
The cartridge is probably installed backward. Disassemble and check the orientation key on the cartridge shaft.
Problem: Water pools under the sink after reassembly
You may have cracked a fitting or cross-threaded the packing nut. Tighten connections gently—hand-tight plus a quarter-turn is the rule. If the leak persists, call a plumber.
When to call a professional
Call a plumber if:
- The drip continues after you’ve replaced both the washer and the seat (compression faucet) or the cartridge (single-handle faucet)
- The shut-off valves under your sink won’t move and gentle heat doesn’t help
- Your faucet is a specialty or high-end designer brand and cartridges cost more than $80 or aren’t available
- Water is pooling under the sink after disassembly—you may have cracked a fitting, which requires re-soldering or professional fitting replacement
Common mistakes to avoid
Buying a generic washer kit. Generic washers are often too thick or too soft and won’t seal properly. Look for kits specifically labeled “faucet washer” or “faucet repair kit.”
Over-tightening the packing nut. This crimps the washer and makes the handle hard to turn. Hand-tight plus a quarter-turn is enough.
Not matching the cartridge to your faucet brand. A Moen cartridge will not fit a Delta faucet. Confirm your brand and model before you buy.
Skipping the seat inspection. A corroded seat will ruin a new washer in days. Always check the seat when you have the stem out—it’s a 2-minute add-on that saves a frustrating callback.
Most kitchen faucet drips are solved with $10 in parts and half an hour of methodical work. The key is knowing which type of faucet you have before you start. Once you’ve done it once, the next time takes 15 minutes.
If you’re tackling other kitchen repairs, [how-to-unclog-a-kitchen-sink-drain] is another common fix that saves a plumber visit. For tool comparisons when upgrading your kitchen, [best-kitchen-faucets-under-200] covers what to look for in a replacement faucet.